
An embroidered purse
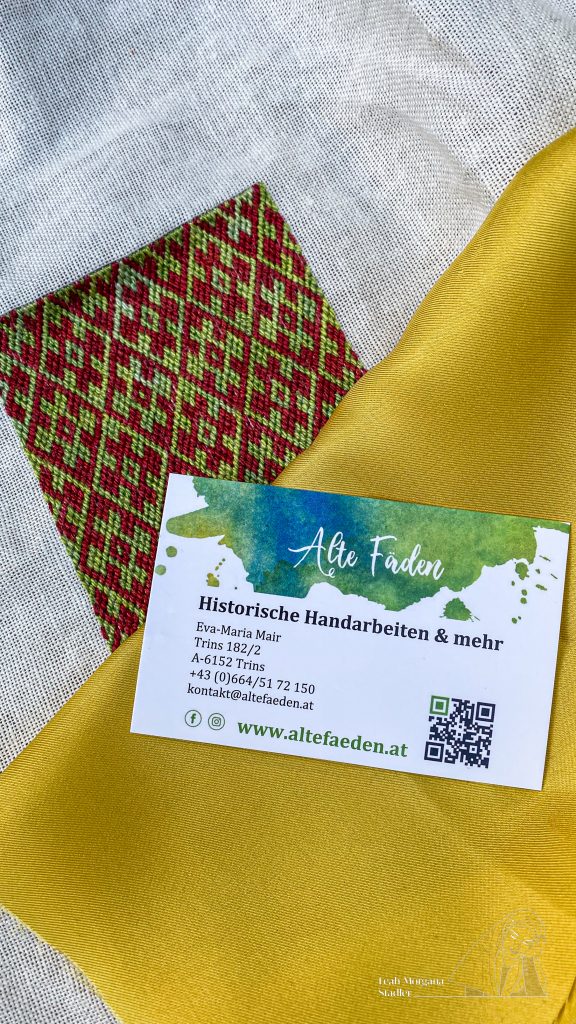
First of all I want to say a huge THANK YOU to Eva-Maria Mair (Alte Fäden/ vrouwen maere). She was very helpful while I made this purse and even gifted me a beautiful plant dyed silk fabric for the lining of the purse! Furthermore I visited her Websites multiple times to find information and inspiration. Thank you Eva! Thank you very much!!!
I’ve found the embroidery pattern (here is another one) on Pinterest. I was looking for a new projekt and since crossing of things on your to do list is boring, I decided that it would be fun to make an unnecessary object I can’t wear because I don’t have the right costume for it…
The pattern is the one from the reliquariy bag that was found in the Saint-Vincent’s Church in Soignies, Belgium. Please visit for all the details of the Original Eva-Maria’s Post.
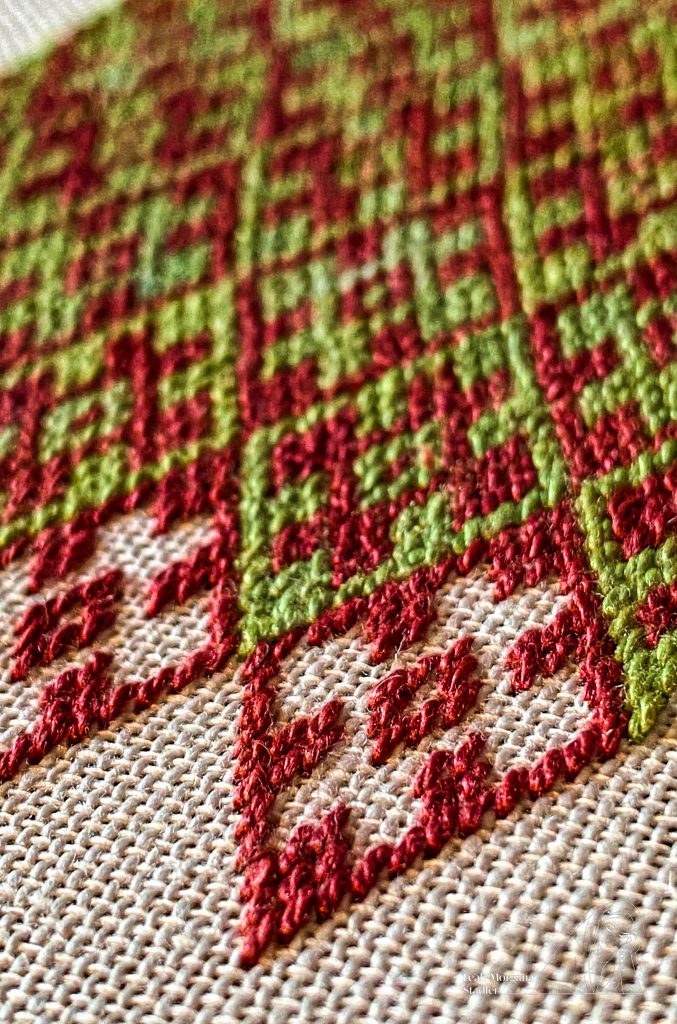
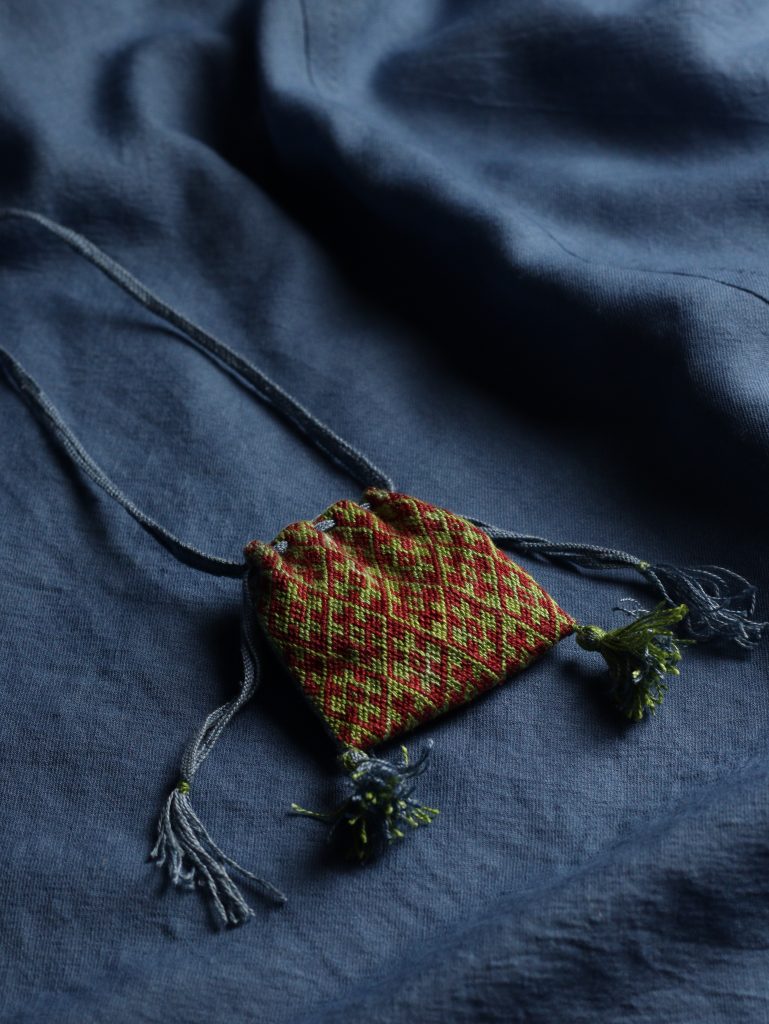
I didn’t like the stripes on the Original though and decided to only make the floral design in green and red. I chose a linnen ground and used twisted and plant dyed silk yarn.
After I finished the embroidery the nerve-wracking work started. I had to cut the embroidery out and sew the seam allowance carefully. (I don’t want to know how high my heart beat was at that time) Then I’ve applied four loops for the seam decoration on each side. You have to keep in mind that those strings will decorate not only the sides, but also the seams on top of the purse. They have to be long enough. After that I closed the sides of the purse with a linnen thread and took ensured that the pattern will match. Finally I did the decoration of the side seams. For a detailed tutorial I recomend you Eva-Maria’s Post.
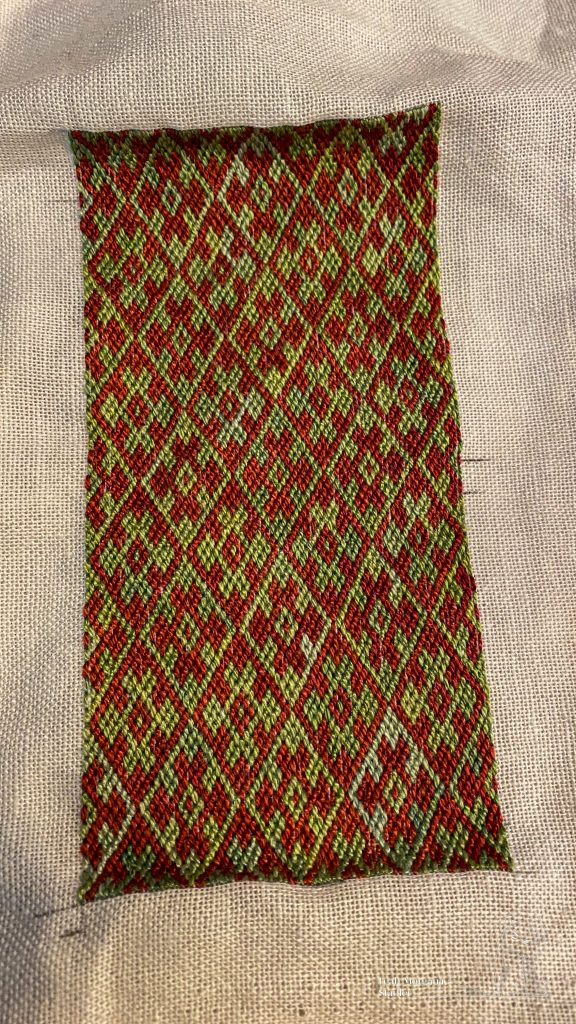
The finished embroidery 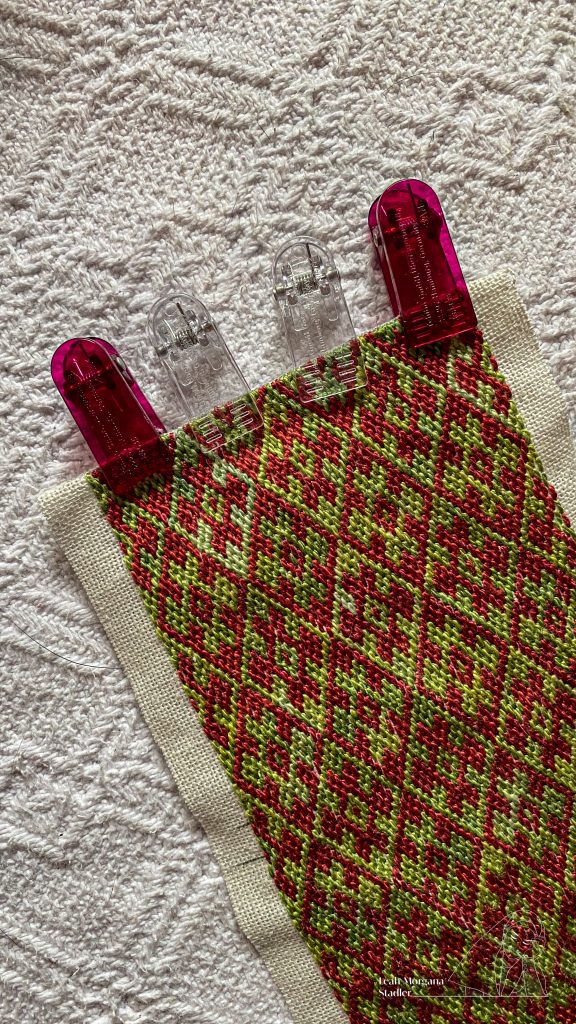
I folded the seam allowance 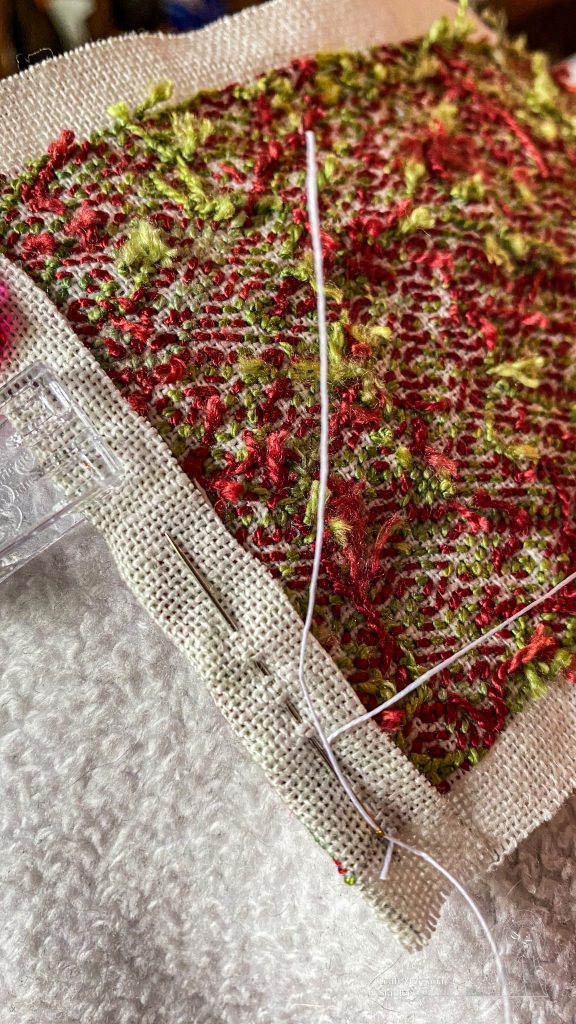
and sewed it. 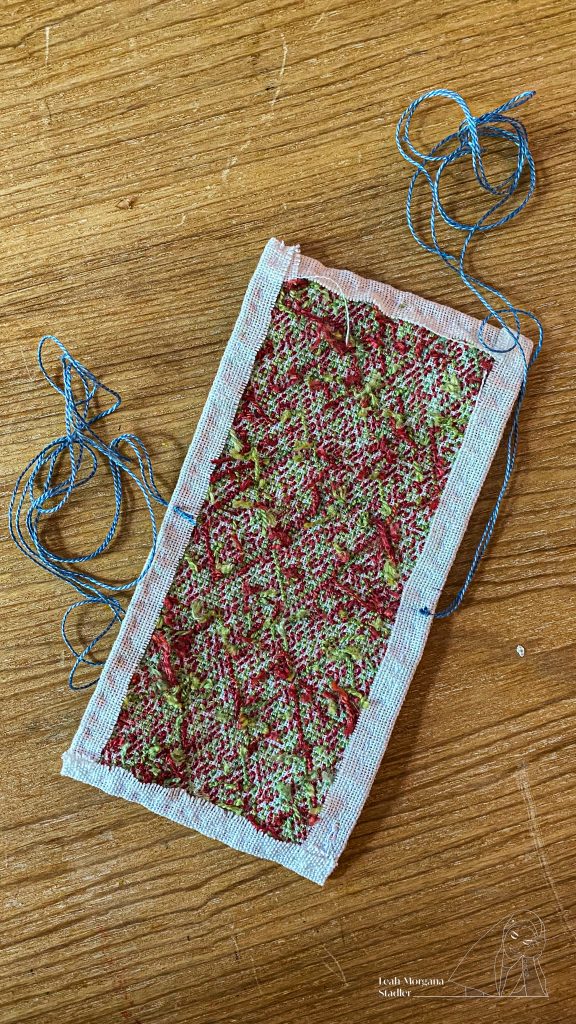
The sewed seam allowance and the loops for the seam decorations. 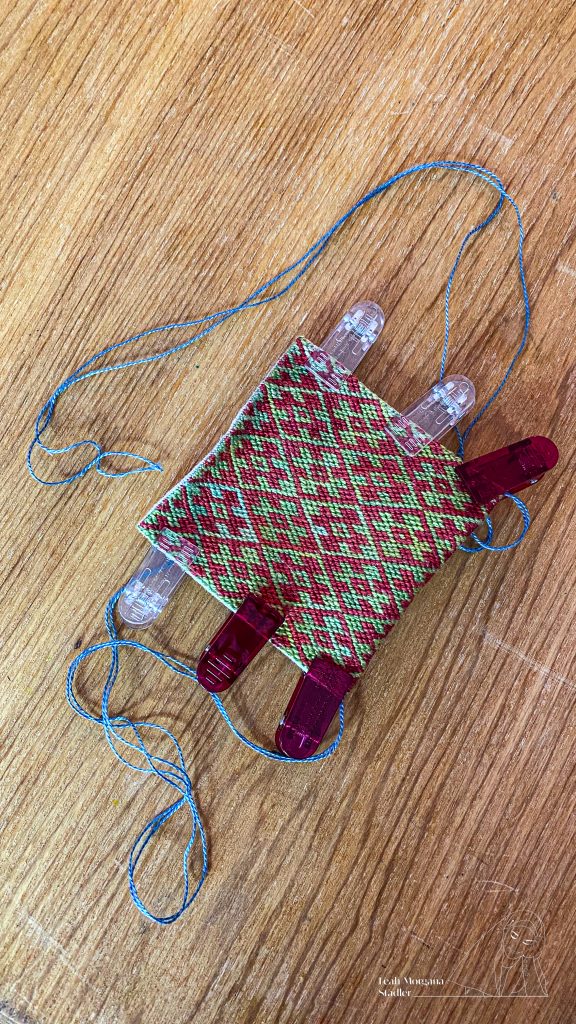
I folded the embroidery in the middle 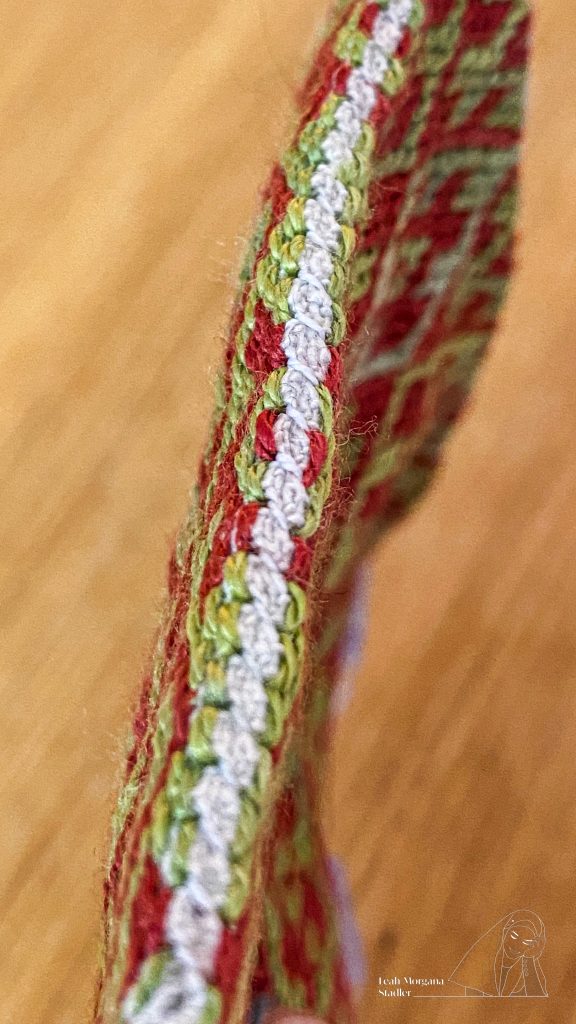
and closed the sides with a linnen thread. 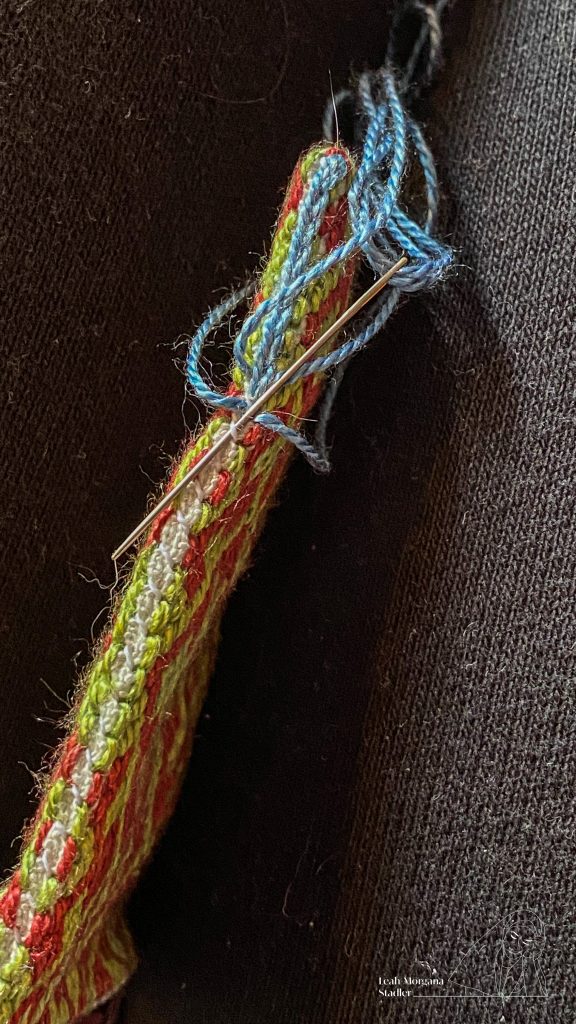
At the end I made the seam decoration on the side. 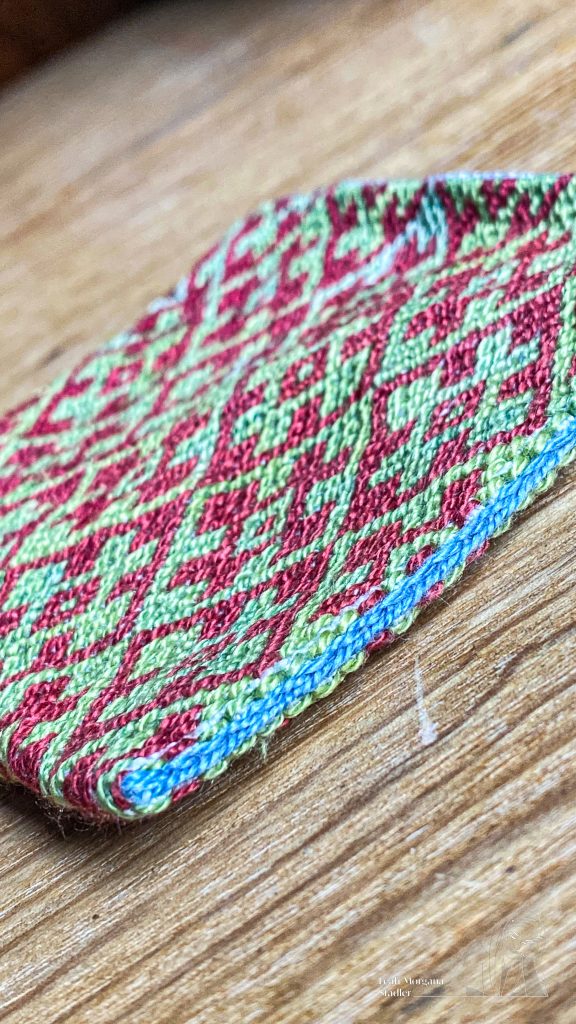
The finished seam decoration on the side.
Then… yes then I had to make the lining… and I was sh*tting myself!
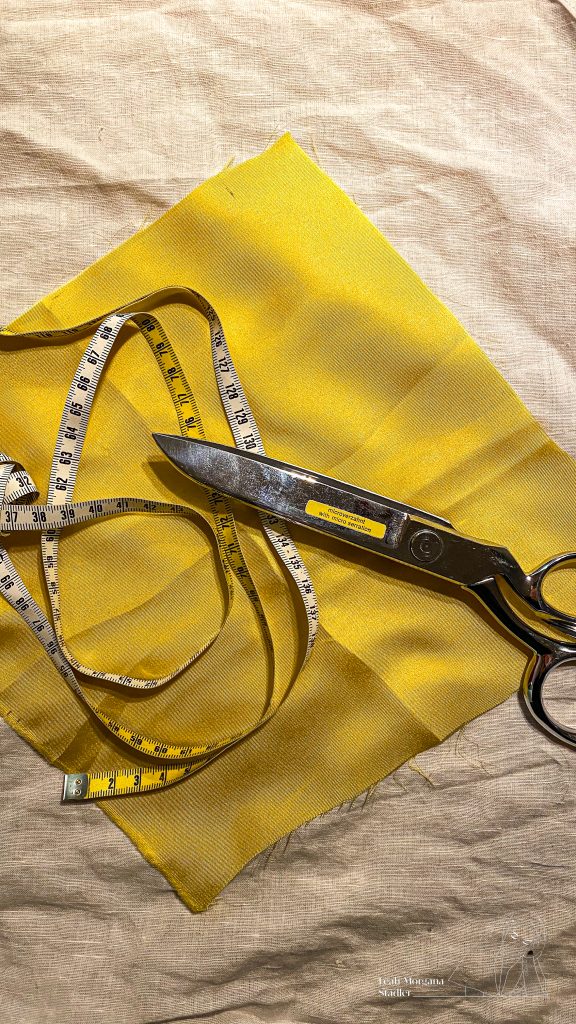
At first I’ve cut a slightly smaller bag out of the silk fabric Eva-Maria gave me and I sewed it together. Then I’ve put the little bag in the embroidered bag and sewed those two together. I decorated this seam in the same way as the side seams.
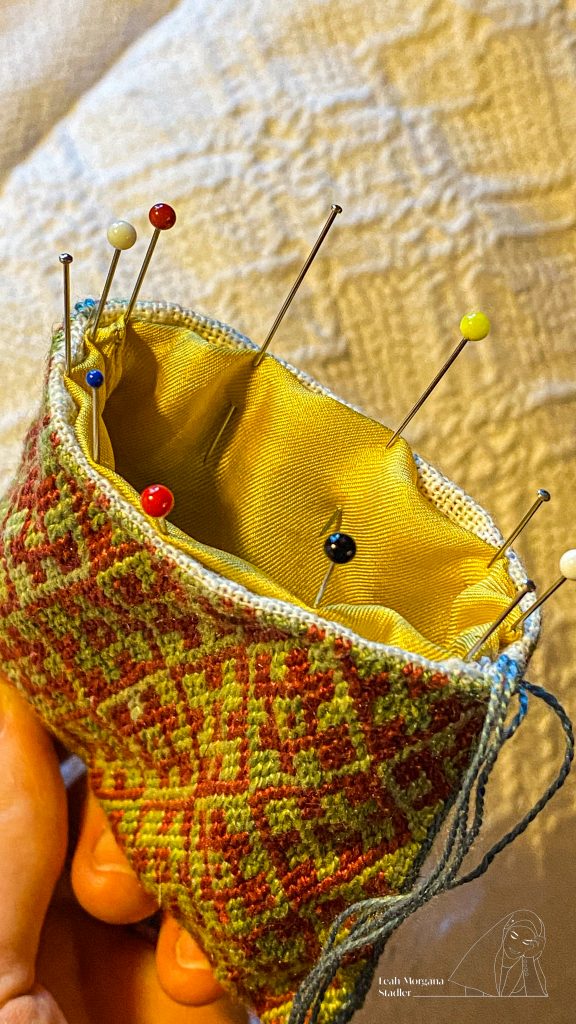
I’ve put the smaller bag in the embroidered one. 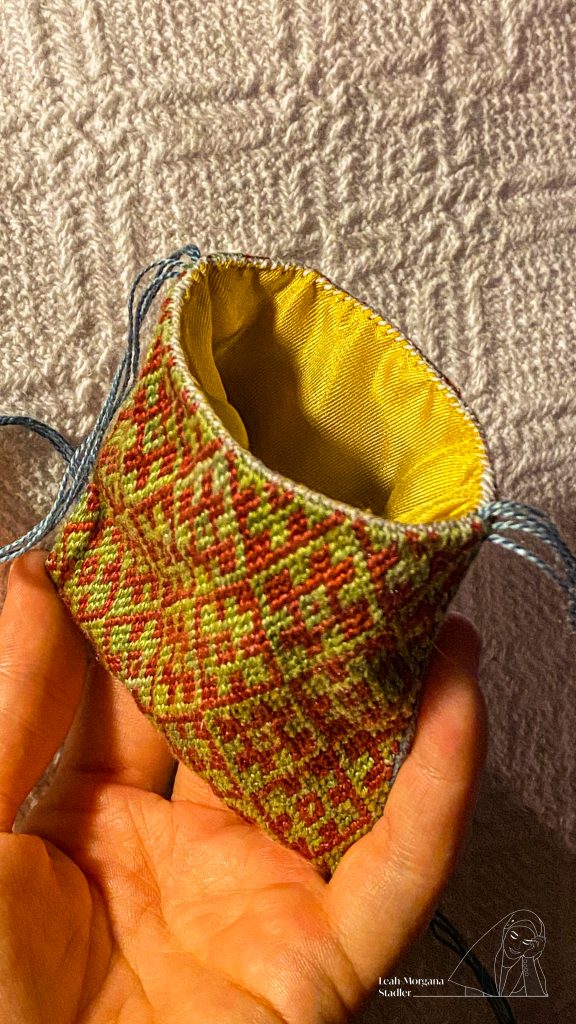
The two bags sewed together. 
The side decoration on the top of the bag.
And here I made a mistake. Did you spot it?
I’ve forgot to sew on the band I need to hang the purse on the belt. (To be honest I didn’t even made the band up to this point and only noticed my mistake when I tried to attach the band…) Usually the band get sewed on the inside of the embroidered bag before you line it…
For the band I tried a lot of fingerloop braiding patterns from the book Benns, Elizabeth; Barter, Gina: Tak V Bowes Departed. A 15th Century Braiding Manual Examined, England 2019. and compared to the Original from Belgium. I came to the conclusion that the pattern 3. A Thin Lace of 5 Loops (page 42-43) resembles the Original best. For the band I use to hang the purse I used two loops on every finger and for those I use for closing I use one on every finger. You have to be careful with the bands for closing, because the ends of those will form the tassels. You have to take care that you will have enoug unbraided yarns for those.
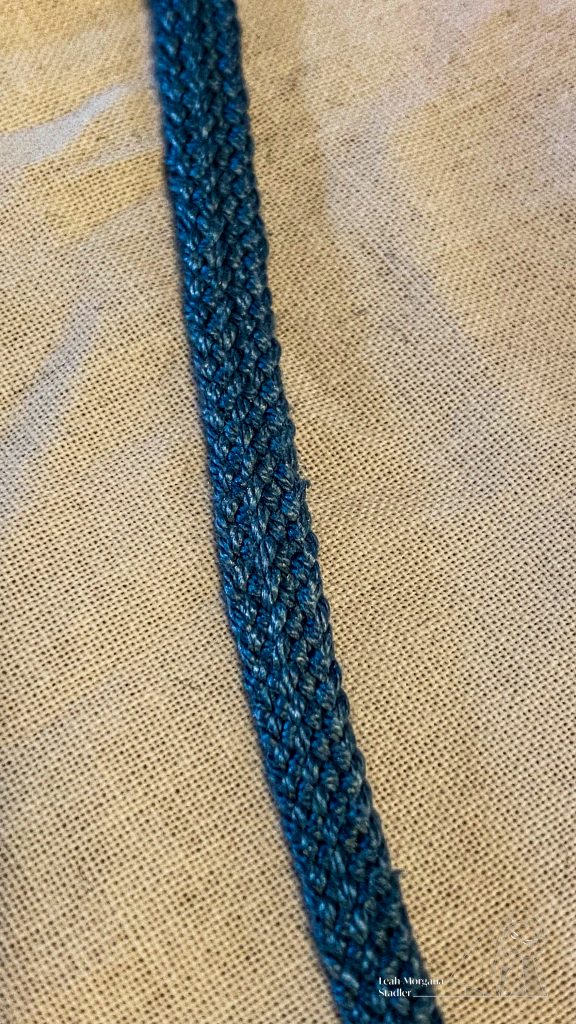
A Thin Lace of 5 Loops I use for hanging on the belt. I doubled the loops for this one. 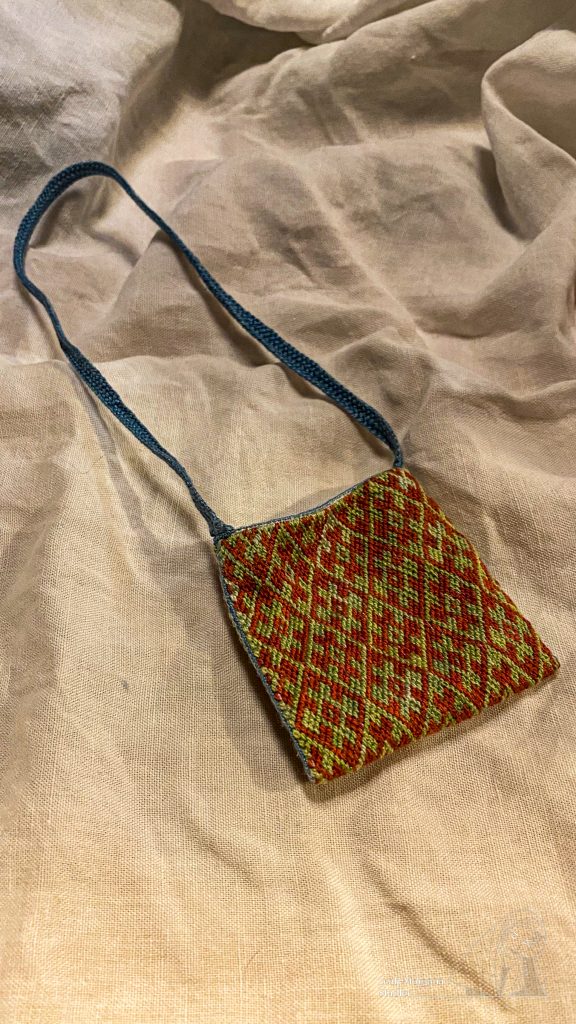
And then the bands for closing had to go into the purse… I had a hard time to figured this one out. I always asked myself how you make the eyelets for the holes where you draw the band through. I’ve never seen any eyelets on purses (extant and reconstructions) and no purse maker ever shows the inside of their purses. But then again Eva-Maria came to the rescue with this informative post. (You have to visit her story highlight and the fifth post is it.) The simple answer is that the holes dont have any eyelets. Now I didn’t have any excuse to don’t stab my purse.
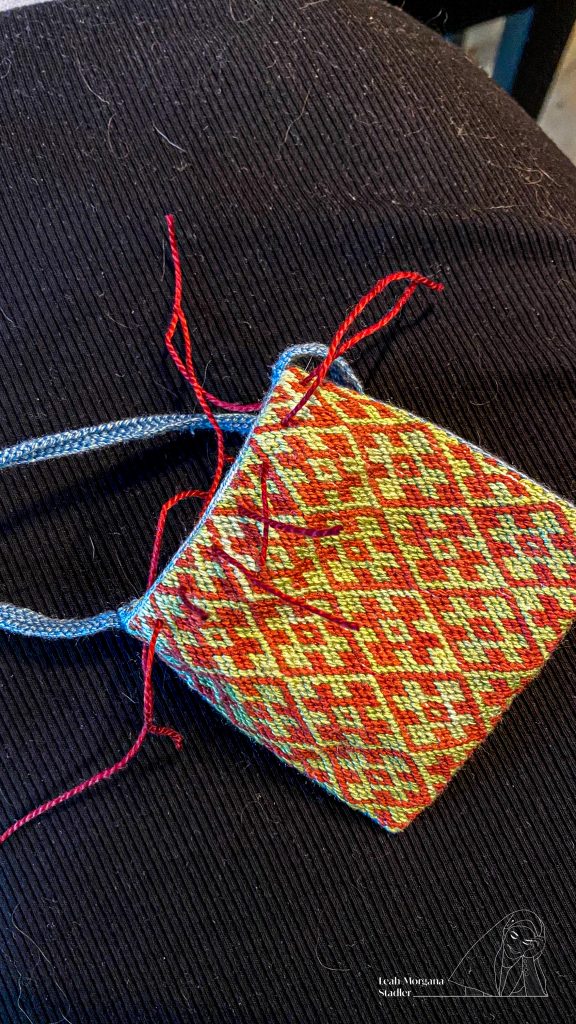
Again I looked at the extant bag and saw that it has eight holes and that the last ones always lay very close to the side seams. The holes are 1,5cm apart from each other. At first I punched a hole with a (Its kind of a big and stump safety pin you use for knitting. Sadly I don’t know the english term.) and stretched it with a thin knitting needle. After every hole I made I laced the band.
I knoted the bands together on each side with a different-coloured yarn.
(I want to apologize for the hair and fluff on the background on the following pictures. That is what happens with two dogs…)
The markings for the holes. 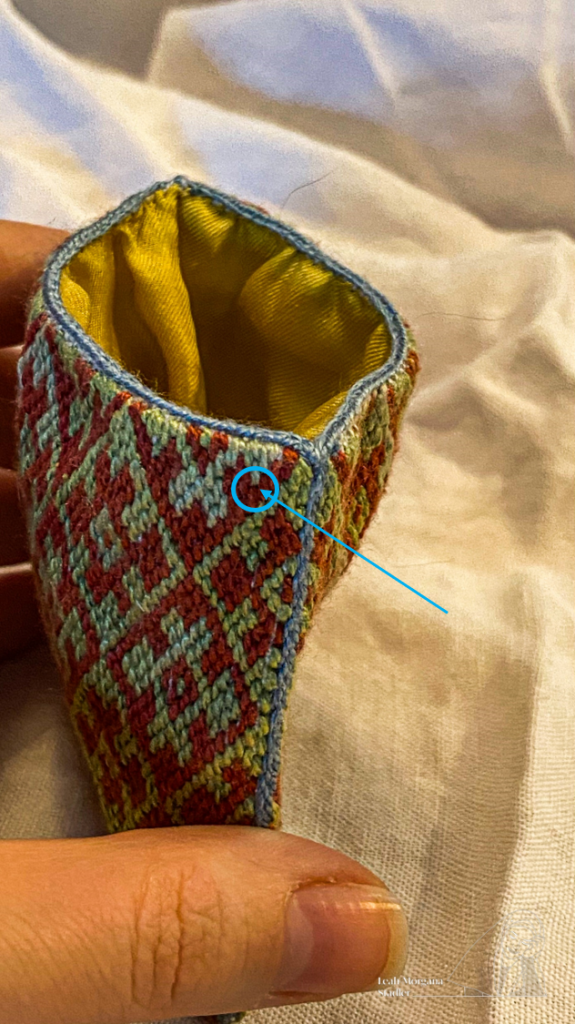
Here I marked the point where I made the first hole. 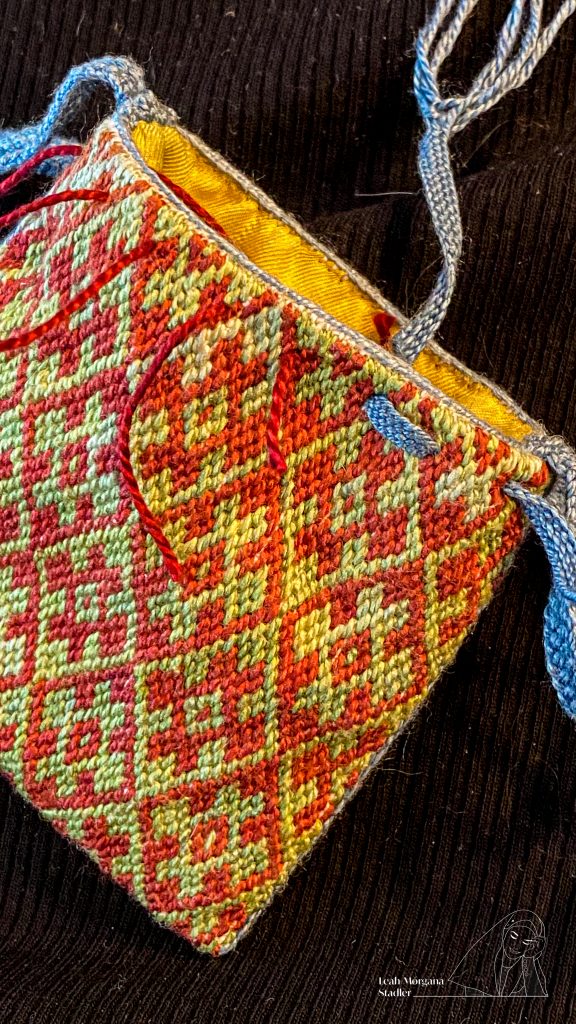
After every hole I made I laced the band. 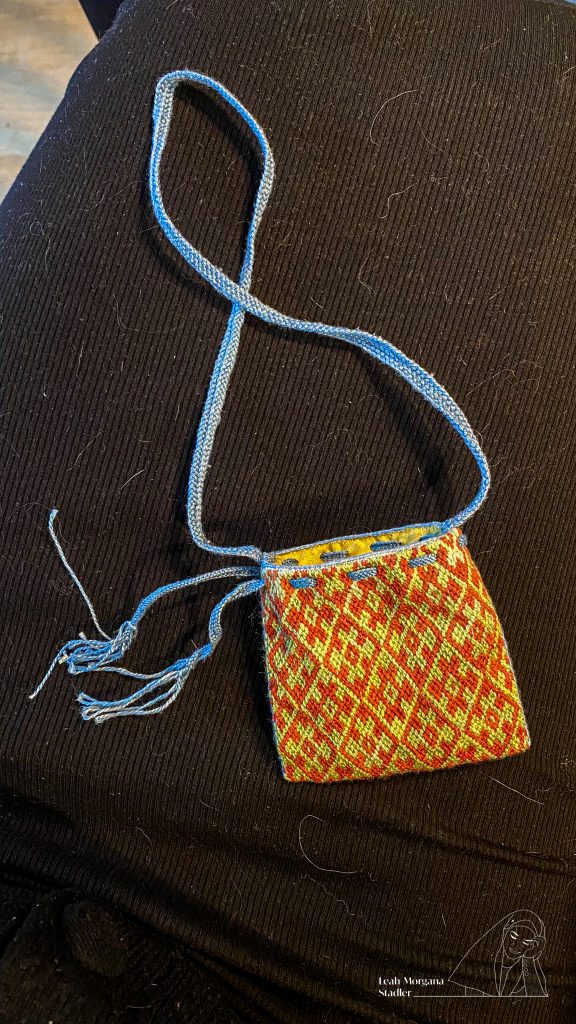
The first band for closing is in! 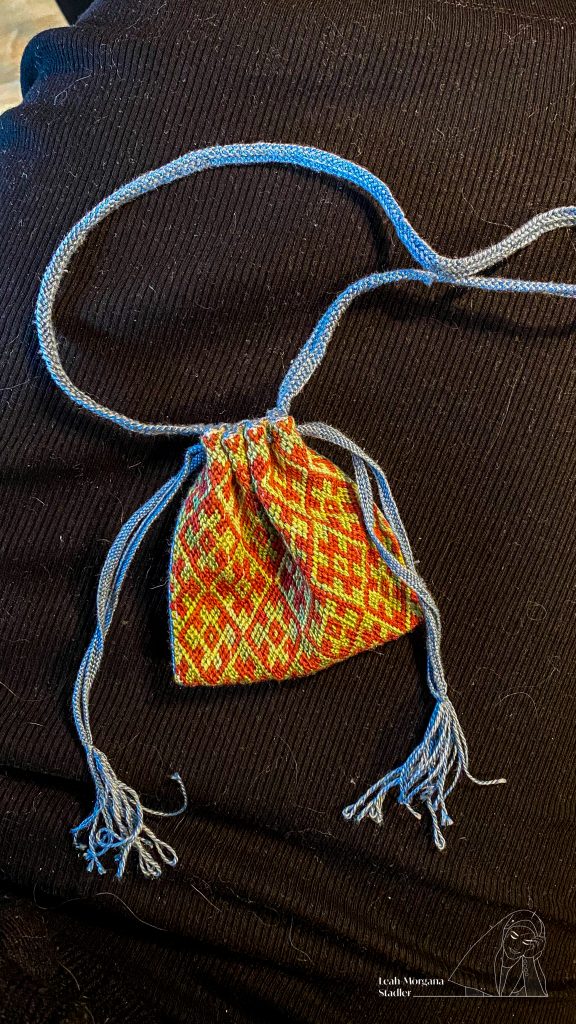
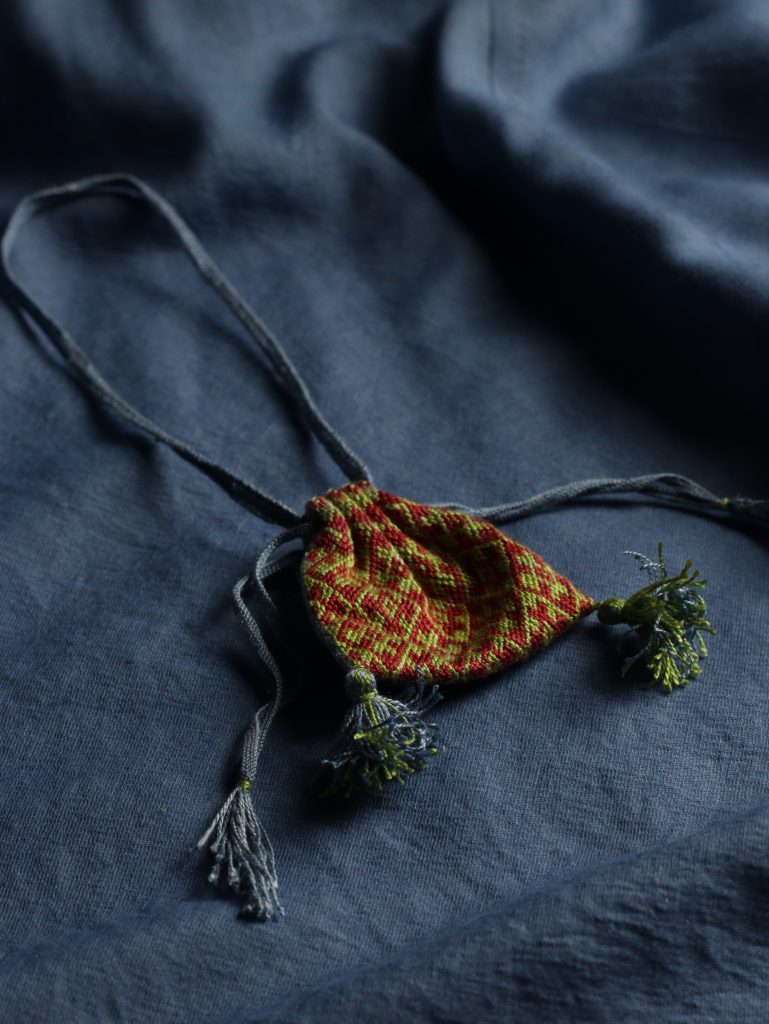
The laced purse
Once again I looked at the Original, measured the tassels and made two 3cm long tassels. I chose to not follow the extant purse and sewed the tassels so that they will hang vertically.
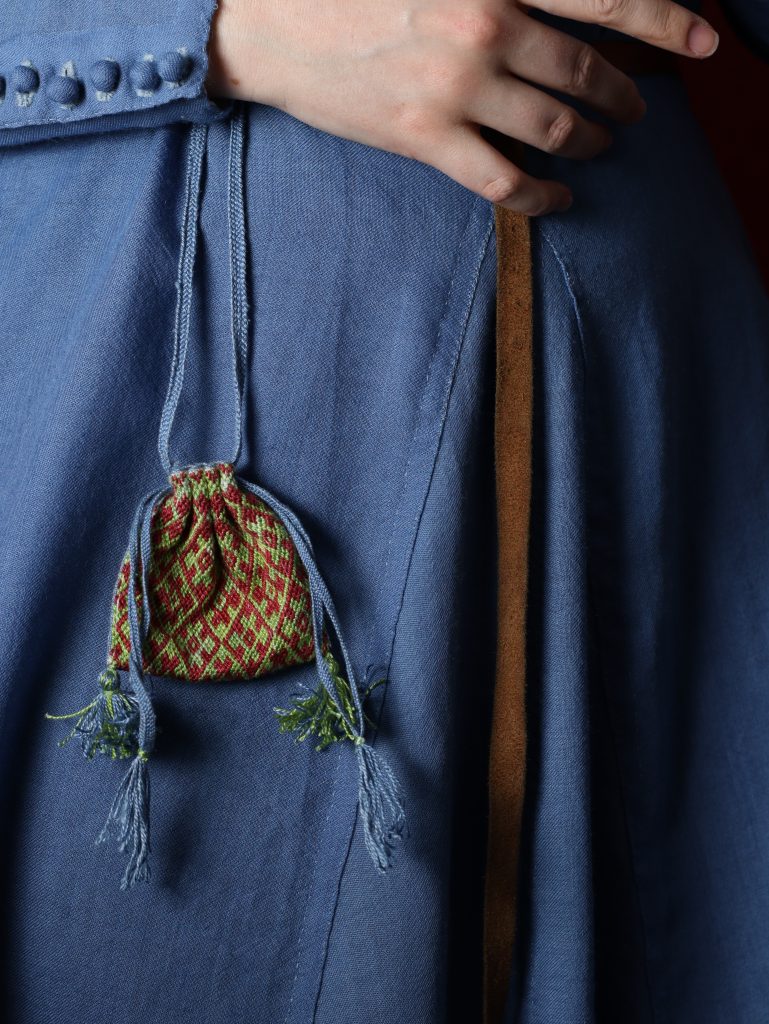
Now there are „only“ the turk’s head knots for decorating the tassels missing, but I have to try to knot it again and make a few silk gimps (Tutorial) before I can do that. But since I don’t have a costume to wear that purse with I’m not in any rush…
I will update this post as soon as there is something to update.
This post contains links to websites which aren’t paid or comissioned advertisments.
All pictures are made by Leah-Morgana Stadler and she is the only one who is allowed to use them.